Learn to configure Telnet Server on redhat enterprise Linux Machine. Telnet is a remote Login Program. You can Divide Telnet in to Two parts: Telnet-Server and Telnet-Client. Telnet server is the Machine which allows users to login to it through remote and the machines which are logged in remotely through telnet on Telnet Server is known as Telnet Client.For this lab I have taken three Machines here. One RHEL5 machine as Telnet server and other two machines as a telnet client.
Also Learn: How to Configure Telnet server on Custom PORT

Step1: Install telnet packages:
[root@localhost ~]# yum install telnet-server telnet -y
Loaded plugins: rhnplugin, security
Repository 'a' is missing name in configuration, using id
This system is not registered with RHN.
RHN support will be disabled.
Setting up Install Process
Package 1:telnet-server-0.17-39.el5.i386 already installed and latest version
Package 1:telnet-0.17-39.el5.i386 already installed and latest version
Nothing to do
[root@localhost ~]#
Step2: nable Telnet service from it’s configuration file /etc/xinetd.d/telnet
The content inside telnet configuration file will be same as i am writing below.
Remember that the only changes i have made inside this file is that change disable=yes in to disable=no
# default: on
# description: The telnet server serves telnet sessions; it uses \
# unencrypted username/password pairs for authentication.
service telnet
{
flags = REUSE
socket_type = stream
wait = no
user = root
server = /usr/sbin/in.telnetd
log_on_failure += USERID
disable = no
}
Step3:Master XINETD FILE is /etc/xinetd.conf
[root@localhost ~]# vim /etc/xinetd.conf
It’s configuration is not Mandatory
Step4: Add users for your Telnet Clients:
[root@localhost ~]# useradd satish
useradd: user satish exists
[root@localhost ~]# useradd rahul
[root@localhost ~]# useradd bobby
useradd: user bobby exists
[root@localhost ~]#
[root@localhost ~]# passwd satish
Changing password for user satish.
New UNIX password:
BAD PASSWORD: it is based on a dictionary word
Retype new UNIX password:
passwd: all authentication tokens updated successfully.
[root@localhost ~]# passwd rahul
Changing password for user rahul.
New UNIX password:
BAD PASSWORD: it is too short
Retype new UNIX password:
passwd: all authentication tokens updated successfully.
[root@localhost ~]# passwd bobby
Changing password for user bobby.
New UNIX password:
BAD PASSWORD: it is too short
Retype new UNIX password:
passwd: all authentication tokens updated successfully.
[root@localhost ~]#
Step4: Start and Check Telnet Server Service
[root@localhost ~]# chkconfig --list telnet
telnet on
[root@localhost ~]# chkconfig telnet on
[root@localhost ~]#
[root@localhost ~]# service xinetd restart
Stopping xinetd: [ OK ]
Starting xinetd: [ OK ]
[root@localhost ~]#


[root@localhost ~]# service xinetd status
xinetd (pid 5728) is running...
[root@localhost ~]#
Step5: Disable Firewall temporarily and Disable Selinux
[root@localhost ~]# iptables -F
[root@localhost ~]# setenforce 0
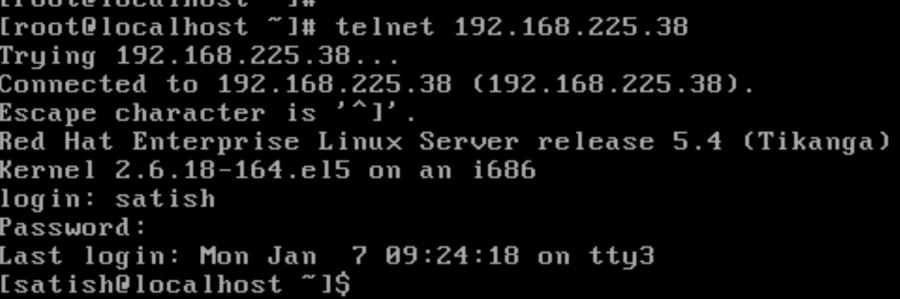
Telnet Client(192.168.225.52)
How to Allow Remote Users to login through ROOT user to Your Telnet server.
You need add few lines to /etc/securetty file
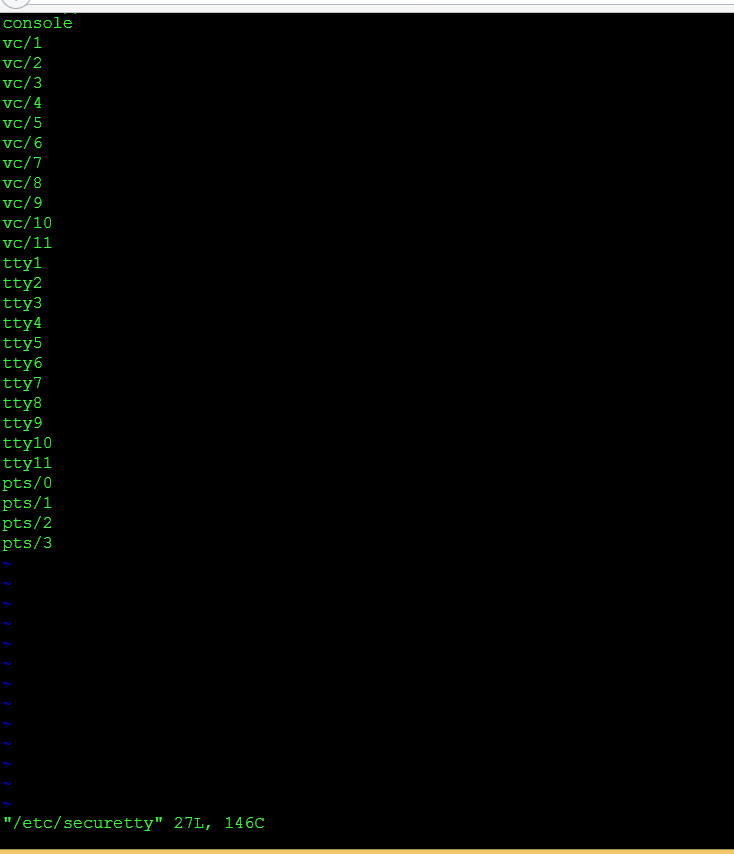
you can see i have added
pts/0
pts/1
pts/2
pts/3
to the file /etc/securetty
Now you can successful login to telnet server through root user.
You can also read:
Telnet configuration on Cisco Router
Telnet Configuration on Cisco Switch
Telnet Configuration on Cisco Switch using IPv6
Discover more from Learn Linux CCNA CCNP CEH CISSP CISA Penetration-Testing Bug Bounty IPv6 Cyber-Security Network-Security Online
Subscribe to get the latest posts sent to your email.
