In this tutorial we are going to build our own customize kernel for our RedHat Enterprise Linux.Before we go further i love to remind you that we will do all these process as root user and all the commands will be performed inside your linux kernel Directory which is located inside /usr/src folder.
1.Check your linux kernel.
[root@localhost ~]# uname -a
Linux localhost.localdomain 2.6.18-164.el5 #1 SMP Tue Aug 18 15:51:54 EDT 2009 i686 i686 i386 GNU/Linux
[root@localhost ~]# uname -r
2.6.18-164.el5
[root@localhost ~]#

2.Download updated kernel from kernel.org or if you have already downloaded then it’s ok.
here i have already downloaded latest kernel from kernel.org and now i am going to download kernel file from windows to linux machine.

3.copy downloaded kernel file to /usr/src directory.
[root@localhost soft]# cp linux-2.6.27.46.tar.gz /usr/src
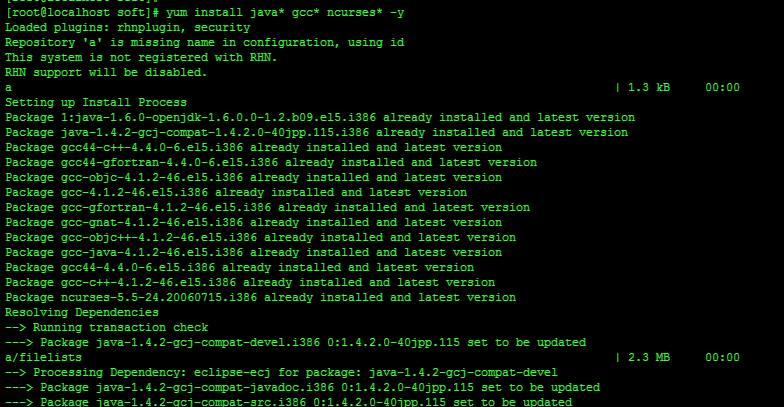
4.Before installing new kernel you need to install few important packages using yum.
[root@localhost soft]# yum install java* gcc* ncurses* -y
5.Now go to /usr/src directory and decompress the linux kernel file using tar command.
 [root@localhost ~]# cd /usr/src
 [root@localhost src]# ls
 linux-2.6.27.46.tar.gz
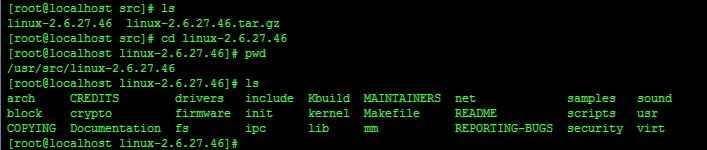
6.After extracting you can see a new folder of linux kernel.
Go to extracted folder.
 [root@localhost src]# tar xvzf linux-2.6.27.46.tar.gz

[root@localhost src]# ls
 linux-2.6.27.46 linux-2.6.27.46.tar.gz
Now you can clearly see linux-2.6.27.46 folder there.
Go inside that folder using cd command.
7.Now run make mrproper command.
we run mrproper command because we need to make sure that no any old files or configuration information exist there before we do anything with the sources.
[root@localhost linux-2.6.27.46]# make mrproper
8.Now configure linux kernel using menuconfig.
Because before we compile the kernel we need to configure it.
here we tell the kernel which device or drivers support we want in our new kernel.
[root@localhost linux-2.6.27.46]# make menuconfig
 HOSTCC scripts/basic/fixdep
 HOSTCC scripts/basic/docproc
 HOSTCC scripts/kconfig/conf.o
 HOSTCC scripts/kconfig/kxgettext.o
 HOSTCC scripts/kconfig/lxdialog/checklist.o
 HOSTCC scripts/kconfig/lxdialog/inputbox.o
 HOSTCC scripts/kconfig/lxdialog/menubox.o
 HOSTCC scripts/kconfig/lxdialog/textbox.o
 HOSTCC scripts/kconfig/lxdialog/util.o
 HOSTCC scripts/kconfig/lxdialog/yesno.o
 HOSTCC scripts/kconfig/mconf.o
 SHIPPED scripts/kconfig/zconf.tab.c
 SHIPPED scripts/kconfig/lex.zconf.c
 SHIPPED scripts/kconfig/zconf.hash.c
 HOSTCC scripts/kconfig/zconf.tab.o
 HOSTLD scripts/kconfig/mconf
 scripts/kconfig/mconf arch/x86/Kconfig
You will see below image after running this command.

make menuconfig command brings a user friendly interface where we can make changes in our kernel and customize it according to our needs and then save and exit.
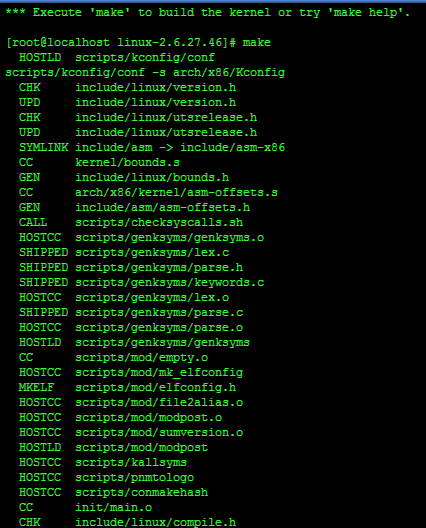
9.Compile the Linux Kernel.
compile kernel using make
[root@localhost linux-2.6.27.46]# make
10.Now build and configure Modules
compile the kernel modules
 [root@localhost linux-2.6.27.46]# make modules
 CHK include/linux/version.h
 CHK include/linux/utsrelease.h
 CALL scripts/checksyscalls.sh
 Building modules, stage 2.
 MODPOST 1050 modules
 WARNING: modpost: Found 2 section mismatch(es).
 To see full details build your kernel with:
 'make CONFIG_DEBUG_SECTION_MISMATCH=y'
11.match mismatched modules.
[root@localhost linux-2.6.27.46]# make CONFIG_DEBUG_MISMATCH=y
12.Install the kernel modules.
[root@localhost linux-2.6.27.46]# make modules_install
13.Install the new Kernel
Now t’s time to copy the new kernel and its associated files to the proper directories and for that we run the below command.
[root@localhost linux-2.6.27.46]# make install
sh /usr/src/linux-2.6.27.46/arch/x86/boot/install.sh 2.6.27.46 arch/x86/boot/bzImage System.map “/boot”
14.Boot Linux To New Kernel.
Once you have finished all above thing reboot your system now.
[root@localhost linux-2.6.27.46]# reboot
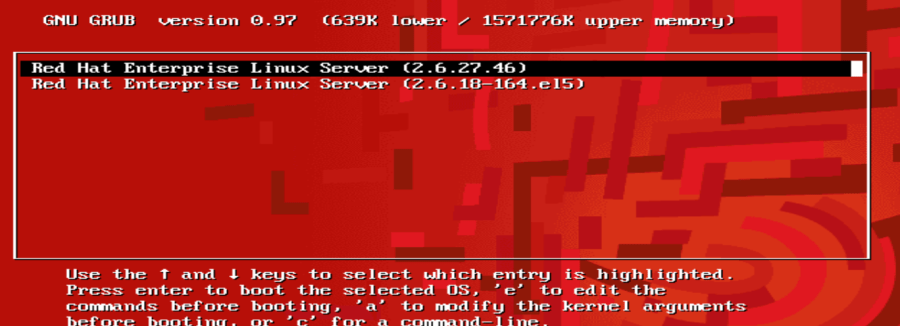
After reboot when you login you will see your new updated kernel too. see below.
-
At the boot loader’s prompt/menu, chose the new kernel.
-
What If boot fails – reboot again with the previous (working) kernel as mentioned above.
-
what If boot succeeds, check that everything working perfectly.
15.Check the output.
 [root@localhost ~]# uname -r
 2.6.27.46
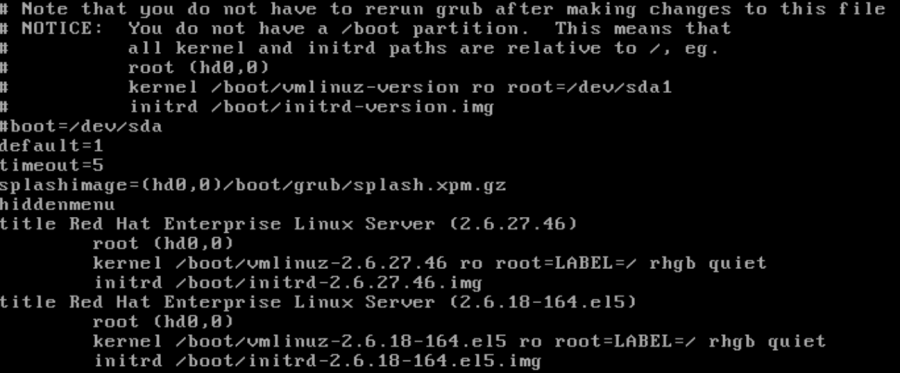
16.you can also see the entry of new kernel in /etc/grub.conf file
Troubleshooting The Linux Boot Process
- Look in those files for error messages, and try to analyze them or look them up on the Internet.
- Sometimes you’ll notice a problem resulting from kernel configuration
- If any kernel related boot problem the – reconfigure from starting.
- Also try to recompile from scratch
- try make clean command re-install and try again.
Discover more from Learn Linux CCNA CCNP CEH CISSP CISA Penetration-Testing Bug Bounty IPv6 Cyber-Security Network-Security Online
Subscribe to get the latest posts sent to your email.
